
The Kitchn: Old-fashioned buttermilk bar donuts are crispy, fluffy perfection
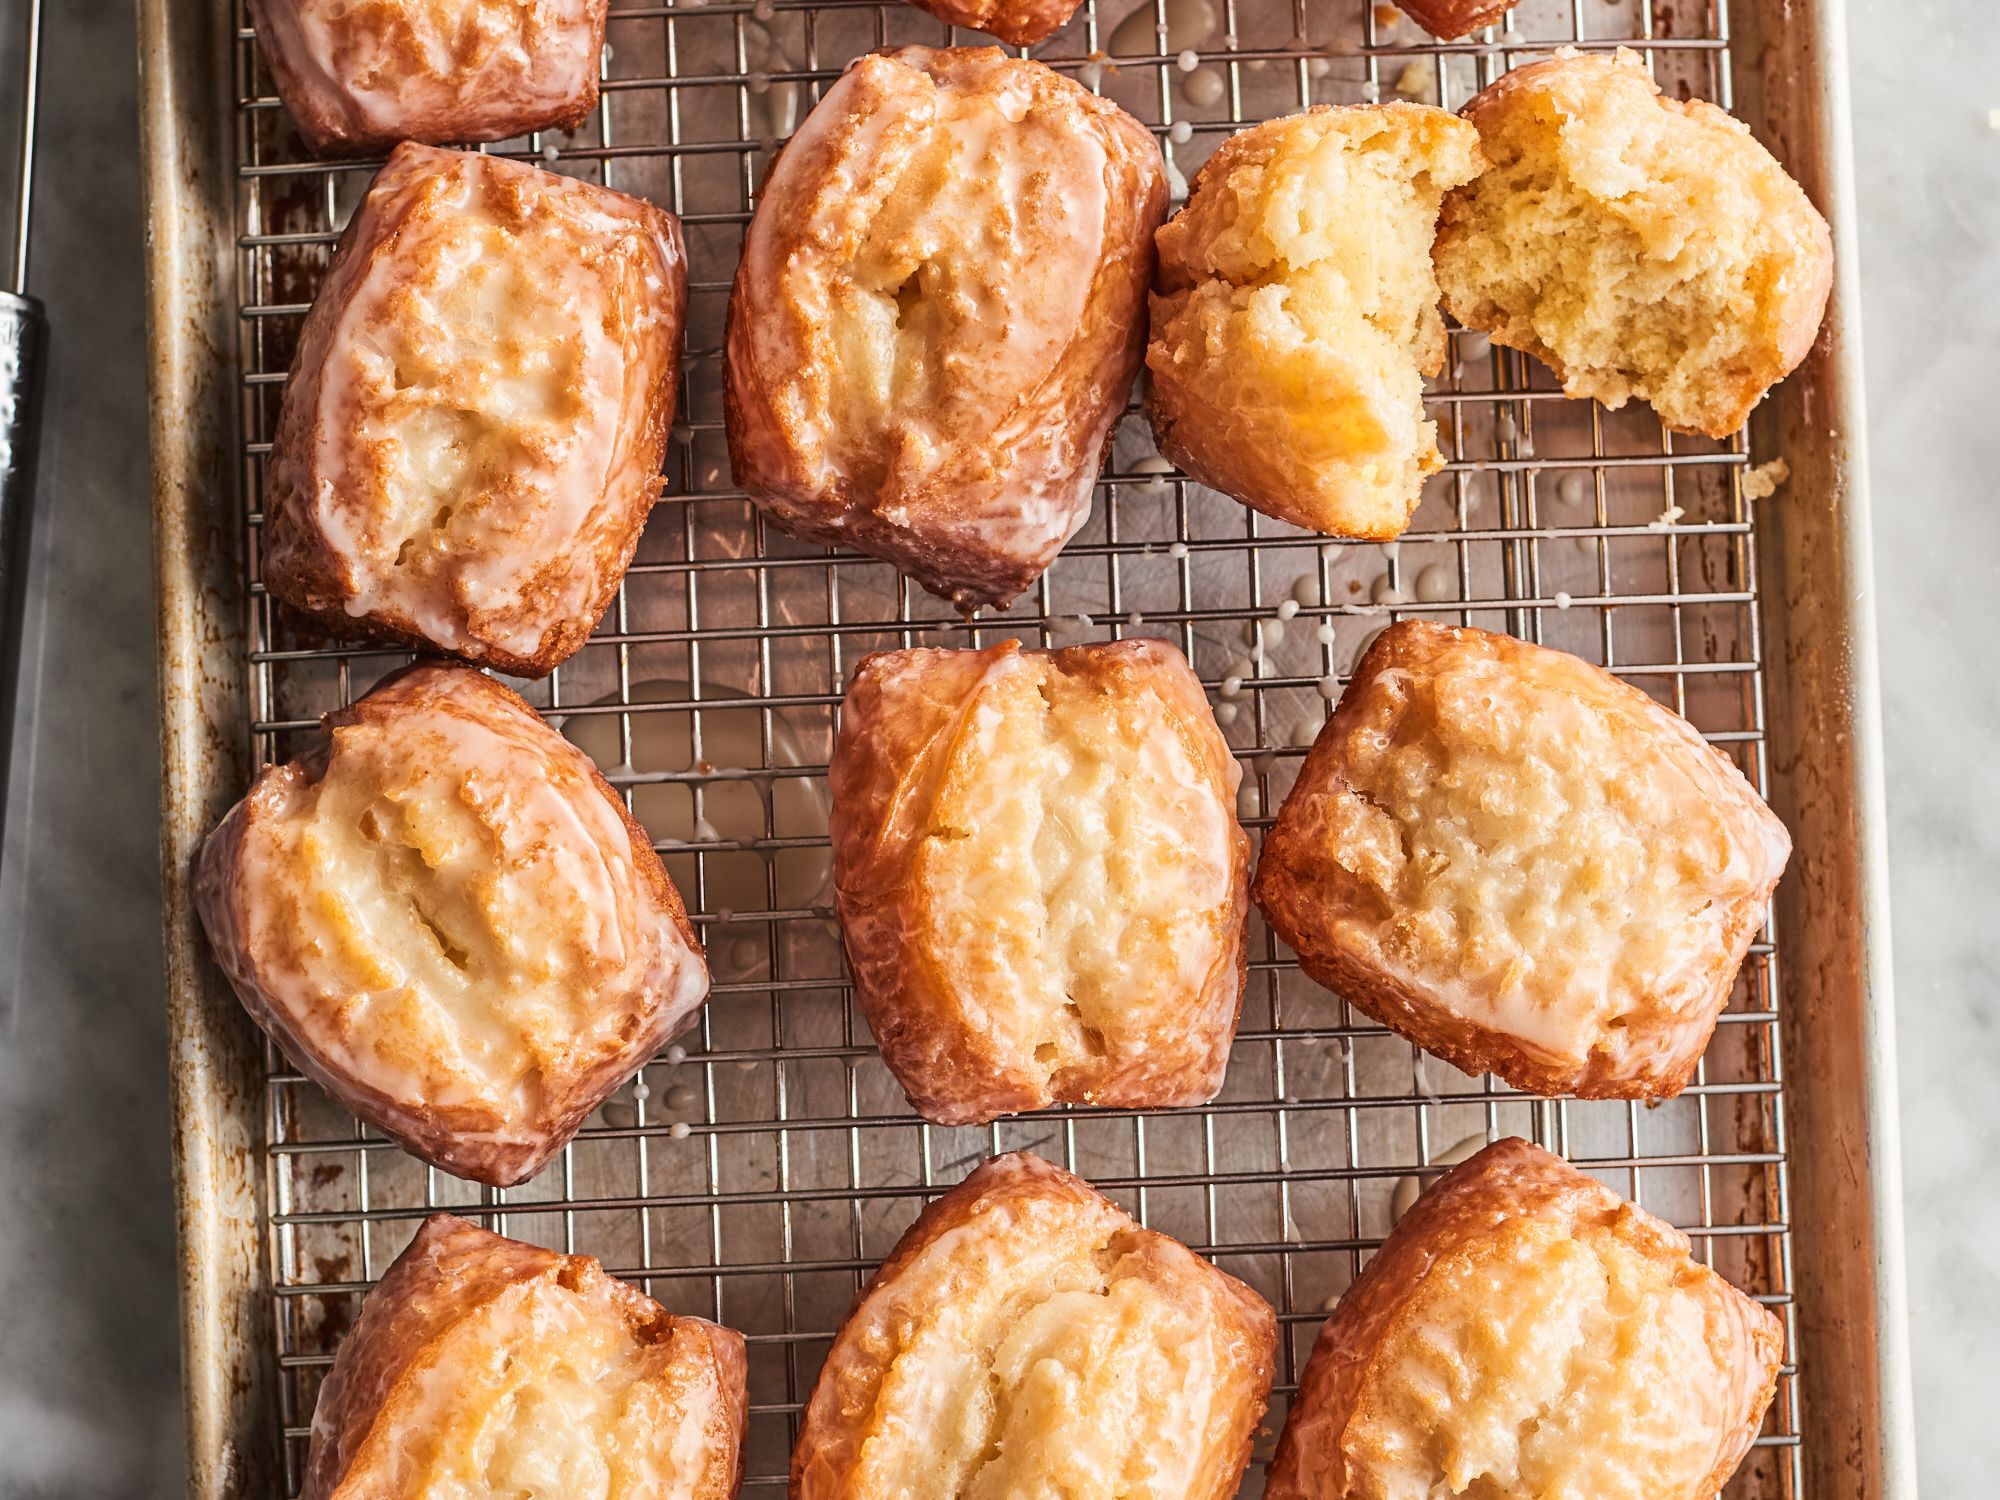
I am an equal opportunity donut lover. I love them all, from the mass-produced to the artisanal. But if I had to pick a favorite, it would be the old-fashioned buttermilk bar, which boasts craggy edges and a glazed top that I can’t get enough of.
Buttermilk bars rose to popularity in Los Angeles-based mom-and-pop donut shops in the 1960s. They are still the top seller at many LA donut shops today, including Primo’s. Because I have yet to try one in LA, I did what I do best: I developed a recipe at home. The ones I’m sharing here are crispy on the outside and fluffy on the inside, and make for a fabulous weekend baking project, if I do say so myself.
Why you’ll love it
Key ingredients in the donuts
3 tips for making these donuts at home
Buttermilk bars, as their name implies, are shaped into rectangles rather than circles — but otherwise, they’re pretty similar to classic old-fashioned donuts made with buttermilk. Here are some helpful tips for making them at home.
1. Use whatever type of sugar you have on hand. I like to make the dough with equal parts granulated and brown sugars, but you can use either all granulated sugar or all light brown sugar with equally successful results.
2. Be generous with the flour. Although the donut dough is very sticky, it can take some tough love, so don’t be afraid to generously flour your hands and the work surface to prevent it from sticking.
3. Use a fish spatula or a spider to transfer donuts to the oil. I find a fish spatula is the easiest tool for transferring the donuts to the oil and retrieving them, but many others prefer to use a spider. Use whatever frying utensil you are most comfortable working with.
Perhaps most importantly, don’t be too precious! These donuts are meant to be rustic, and no matter what shape they enter the oil in, they’re guaranteed to be delicious all the same.
Old-Fashioned Buttermilk Bar Donuts
Makes 30 donuts
For the donuts:
4 tablespoons (1/4 cup) unsalted butter
3 1/2 cups all-purpose flour, plus more for dusting
2 teaspoons baking powder
1 teaspoon kosher salt
3/4 teaspoon ground nutmeg
1/4 teaspoon baking soda
1/2 cup packed light brown sugar
1/2 cup granulated sugar
1 tablespoon vanilla extract
2 large eggs
1 large egg yolk
3/4 cup buttermilk
2 to 3 quarts vegetable oil, for deep frying
For the vanilla glaze:
2 1/2 cups powdered sugar, sifted if lumpy
1/4 cup water, plus more as needed
1 tablespoon vanilla extract
Make the donuts:
1. Place 4 tablespoons unsalted butter in a small microwave-safe bowl. Microwave on HIGH until melted. Set aside to cool slightly.
2. Place 3 1/2 cups all-purpose flour, 2 teaspoons baking powder, 1 teaspoon kosher salt, 3/4 teaspoon ground nutmeg, and 1/4 teaspoon baking soda in a medium bowl and whisk to combine.
3. Place the melted butter, 1/2 cup packed light brown sugar, 1/2 cup granulated sugar, and 1 tablespoon vanilla extract in the bowl of a stand mixer fitted with the paddle attachment. (Alternatively, use a large bowl and electric hand mixer.) Beat on medium speed until combined, scraping the bowl with a flexible spatula as needed, about 2 minutes.
4. Reduce the speed to low. Add two large eggs and one large egg yolk one at a time, stopping and scraping down the bowl as needed. Add 3/4 cup buttermilk and mix until just combined.
5. Add the flour mixture all at once and mix on the lowest speed just until a few streaks of flour remain. Remove the bowl and continue mixing by hand until there are no dry bits of flour. The dough will be quite sticky. Refrigerate for at least 30 minutes and up to overnight so the dough is easier to work with: it remains sticky, but firms up considerably.
6. Line two rimmed baking sheets with parchment paper and dust it with flour. Heavily flour a work surface and your hands with flour. Transfer half of the dough (about 18 ounces) to the work surface, and sprinkle it with flour. Pat the dough into a 3-by-24-inch rectangle with a long side closer to you, adding more flour to the work surface as needed.
7. Use a floured bench scraper or knife to cut the rectangle crosswise into 1 1/2-inch-by 3-inch bars, flouring underneath the bars, the work surface, and the bench scraper as you work. Once all the bars are cut, dip the bench scraper in flour and very gently press it down the center of each bar lengthwise, going as far down as you can without cutting it in half (this will give your donut an indentation for the quintessential buttermilk bar look).
8. Using a brush, gently brush the excess flour off the bars. Use the floured bench scraper or thin metal spatula to gently transfer each bar to one of the baking sheets, flipping it over so that it is indentation-side down. Brush the excess flour from the other side of the bars. Refrigerate and repeat with shaping and cutting the remaining dough.
9. Fill a large, heavy-bottomed pot or Dutch oven with about 2 inches vegetable oil. Heat the oil on medium-high heat until 370 F. Meanwhile, fit a wire rack over a baking sheet.
10. Remove the first tray of bars from the refrigerator. Frying in batches of 6 to 8 so as not to crowd the pot, use the bench scraper to carefully transfer the donuts into the hot oil one at a time. Fry, adjusting the heat as needed to maintain a temperature of 360 F to 365 F, until golden brown, about 1 1/2 minutes per side. Carefully transfer the donuts to the rack with a slotted spoon or spider, letting the excess oil run off as you remove it from the pot. Repeat frying the remaining donuts, heating the oil to 370 F before each batch. Let cool completely before glazing.
Make the glaze:
1. Place 2 1/2 cups powdered sugar, 1/4 cup water, and 1 tablespoon vanilla extract in a large bowl and whisk until shiny and smooth. If the glaze is too thick to run off a spoon easily, whisk in more water a teaspoon at a time.
2. Dip a donut indentation-side down halfway into the glaze. Lift it up and allow the excess glaze to drip back into the bowl. Return to the rack glazed-side up and repeat with the remaining donuts. Let sit until the glaze is set before serving.
Recipe notes: The donut dough can be made and refrigerated up to 24 hours before frying, and leftover donuts can be stored in an airtight container at room temperature for up to two days.
(Jessie Sheehan is a contributor to TheKitchn.com, a nationally known blog for people who love food and home cooking. Submit any comments or questions to editorial@thekitchn.com.)
©2024 Apartment Therapy. Distributed by Tribune Content AGency, LLC.


Comments